In this article, we’ll discuss the Export/Import Quicken Files From Mac to Windows using (.QXF) format. As for now, users are unable to transfer Quicken for Mac files into Windows normally. With the help of this process, they can easily transfer Quicken data from Mac to Windows.
Important: This might fail or cause data loss due to the process status at the time. So if you are willing to try that, make sure to save a copy of the file before. Also, you can’t transfer investment accounts.
Quicken Starter edition doesn’t support .QXF format. So your Quicken should be Quicken Deluxe or upper editions in order to make this process applicable.
Things to do before export/import Quicken files from Mac to Windows
A. Make sure Quicken is up to date (In Mac)
1. Open Quicken
2. Go to Quicken menu > Check for Updates
B. Create a backup of Quicken file
1.Open Quicken
2. Select File > Save a Backup…
3. Choose a place to make a backup and then click Save
Quick Note: If you want us to do all this process and get the things set up for you. Please contact our Quicken experts. TollFree 1-877-353-8076
Simple steps to Export/Import Quicken Files From Mac to Windows (Using .QXF)
Export data from Quicken for Mac
1. Open Quicken
2. Go to File > File Export > Quicken Transfer Format (.QXF)
3. Select a location to export your file like an external drive, USB, etc.
4. Click on Save
You can learn to Install Quicken For Windows with simple steps.
Import Data in Quicken for Windows
In order to import Quicken data using QXF format, you need to create a new Quicken file. This process may take some time depending on your data size and once it’s completed, you can check the logs about the importing process.
1. Once you installed Quicken for Windows it prompts you to create a new Quicken file
2. Select Start over and create a new data file
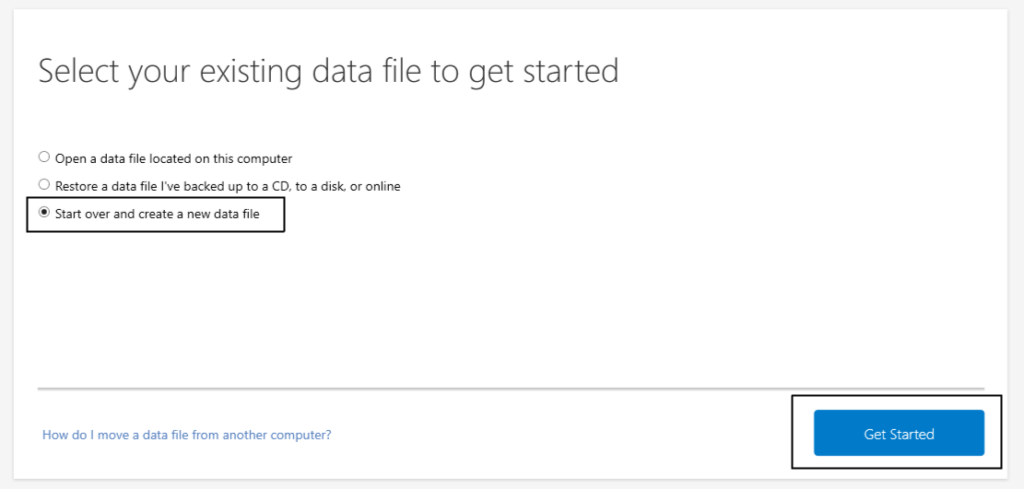
3. Click Get Started
4. Give a name to your new file and click Save
5. Now enter your Quicken ID/Password and click SIgnIn
6. Now follow the on-screen instruction to create a new file
7. Once your file is created, Go to File > File Import > Quicken Transfer Format (.QXF) File…
8. Click on Browse to select your file (that you export from Mac in QXF format) and click Continue
9. The import process will begin and once it’s completed you can check the logs for the process.
If you encounter any problem while export/import Quicken files from Mac to Windows, you can contact us anytime.